Here is a link to our YouTube install Video.
https://www.youtube.com/watch?v=rCkv6RXL5DE&t=122s
Below is a photo illustrated basic tutorial on using and applying our Full Color Full Size Track Plan Prints produced by AffordableModelRailroads.com to your baseboard or sub-roadbed material.
For a permanent installation we recommend you use "Speedball Art Pruducts - Paper Glue" for the least bubbles, creases and shrinkage.
You can also use spray glue, contact cement, white glue or wallpaper paste. We find the spray glue to be messy and needs lots of ventilation, contact cement does not give much working time, white glue and wall paper paste will give you creases and bubbles as it dries but theses are nominal and should not effect the accuracy of the layout. If you want a more permanent bond paint your benchwork top first, especially if you are using foam board.
If you want a temporary placement you can always use thumbtacks, tape of staples.
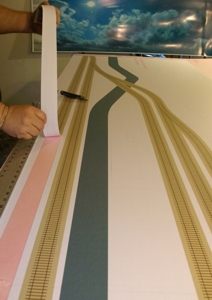
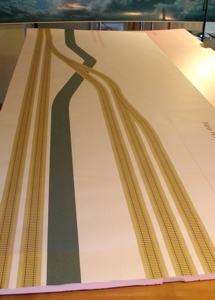
| Step 1: Lay your Full Size Track Plan Print on your baseboard or sub-roadbed panel to check positioning. | |||
 | |||
| Step 2: Tape or pin the print to your baseboard or sub-roadbed material with easily removed painters masking tape or T-pins. | |||
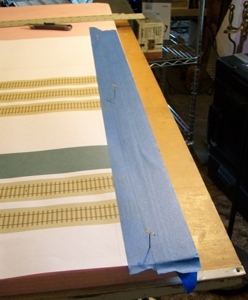 | |||
| Step 3: Starting from the untaped end, carefully roll the print straight back to the beginning and tack it in place with easily removable painters masking tape. | |||
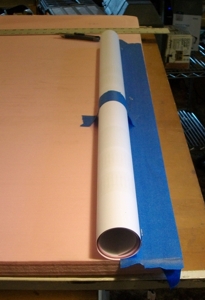 | |||
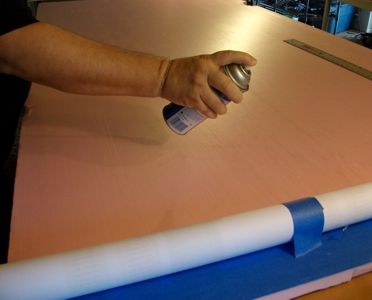
| Step 4: Spray your baseboard or sub-roadbed with spray adhesive. Follow the spray adhesive directions for producing a TEMPORARY removable bond if you will be removing the print as shown in later steps. If you want to permanently install the plan and simply place your roadbed and track over it follow the instructions on your adhesive for a permanent bond. If you want a permanent bond you can also apply the print by "painting" the panel with a paint roller and a foam compatible contact cement, white glue or wall paper paste and then laying the print in place. | |||
 | |||
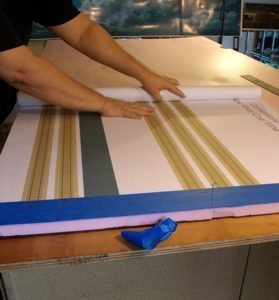
| Step 5: Once the adhesive is properly set, carefully roll your print back to its fixed position. Use one hand to roll out the print while using the other hand to smooth the print to make sure of a wrinkle free, secure and even bond with your baseboard or sub-roadbed. | |||
 | |||
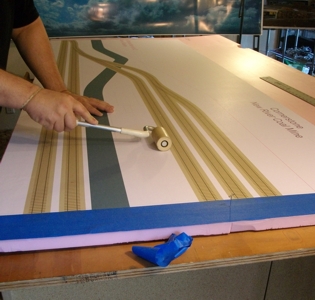
| Step 6: You may want to squeegee the print to release any air bubbles and make sure the bond between the print and the baseboard or sub-roadbed is smooth, even and free of wrinkles or distortions. Your roller can be a kitchen rolling pin or a paint roller with a very fine knap or foam roller. A tile roller works very nicely too. | |||
 | |||
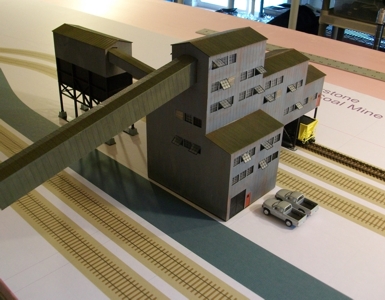
| Step 7: Once the print is applied you can set structures directly on the plan to check positioning and clearances and make any adjustments that may be required. At this point I noticed to the right of the coal mine I had enough space for an additional holding track so I made that modification on the completed diorama. | |||
 | |||
| Step 8: If you permanently glued the print in place you can skip this step and the rest of the steps and simply lay your roadbed directly over the template and glue in place with white glue, carpenters yellow glue or foam compatible caulking like Locktite PL 300. If you applied your print directly to your baseboard you can now cut out the roadbed area with a sharp hobby knife or retractable blade knife. For best results use a straightedge on the straight sections and carefully freehand the curved and turnout section. If you have applied the print to a sub-roadbed material such as plywood or homasote you can easily cut your sub-roadbed pieces with a jigsaw or router using the print as your guide. The sub-roadbed lines were not printed on this pattern as it is a flat shelf diorama and the foamboard base acts as the sub-roadbed. | |||
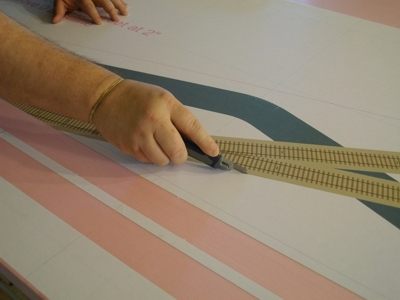  | |||
Step 9: If you properly set your adhesive to have a temporary bond you can now remove | |||
| Step 10: Be sure to include the benchwork edges on your layout design and then you can use those guidelines to cut your panels to perfect size. | |||
 | |||
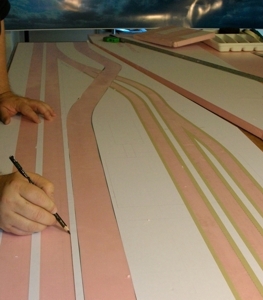
| Step 11: You can skip this step if you want and simply lay your roadbed between the lines, but as a final step I like to trace cut lines with a grease pencil so my guidelines are directly on my baseboard or sub-roadbed material allowing me to remove the rest of the layout print immediately. | |||
 | |||
You are now ready to proceed with building your diorama or railroad. | |||
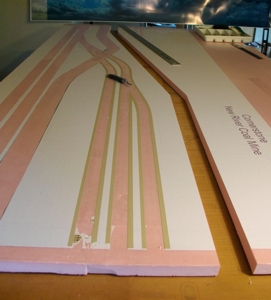
| Below are some pictures of the print templates in use. | |||
| |||
| |||
| |||
| |||
| |||
| Overview Of Custom Layout Builder With Template Laid | |||
| Picture Of Underconstruction Layout Video Of Completed Layout | |||